My goal here is to set up a Personal Desktop system in FreeBSD. I would like to set up an Office Suite (OpenOffice.org), a Web Browser (Mozilla), E-Mail Client (Evolution), and various odd programs (Sguil, development tools, etc). I would also like the system allow easy package installation via the ports collection, which I will not set up in this article.
FreeBSD comes with 3 CD’s, the Boot CD, and two installation CD’s. TO start the install, you can put in CD 1 of the installation CD, as the Boot CD is for net-based installs.
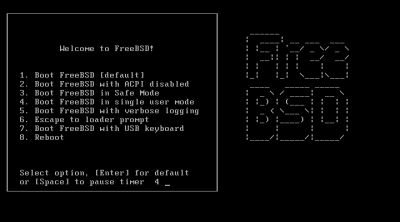
Once greeted with the FreeBSD welcome screen, I select the default option and continue. The installation programs displays various system information until I get into the actual install program. At the Main Menu, I choose custom, as I always want to try and customize the installation options for my systems.

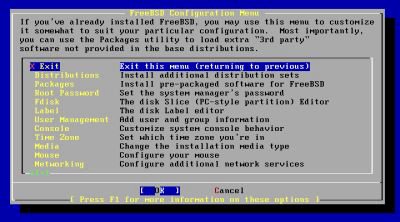
At the custom installation menu, I choose option 2. In the options screen, I choose to turn off NFS, set my installation media to CD/DVD, and turn on DHCP. Once complete I type in Q to quit.

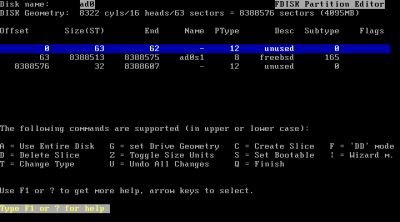
At the Custom Main Menu, I go into the partitions menu. Since I am not doing anything fancy here, I just type in A to tell the partition setup to use the entire disk. I set the new partition to be bootable, and type Q to quit. On the boot manager screen, I choose to install the FreeBSD boot manager.
This takes me back to the Custom Installation Menu.
I go to option 4 to create the disk labels. I only create 2 labels, 1 swap and the rest I set up as a root partition. There are more creative partition schemes out there; I just use this one to get into the OS ASAP.

I go into the Packages installation. The packages I choose are both developer and X-Developer, and X-User.

Since I set up the media previously, I just go to option 7 to commit my partition scheme, I agree to the warning to continue with the OS installation, and wait while the installation continues. When the base installation is complete, I am prompted to set any last minute options. I choose yes and am greeted with an expanded main menu.
I go into the packages selection, and I install the following packages.
Web\Mozilla
KDE\all packages
Irc\Xchat
Linux\Linux_base
Mail\Evolution
Mail\Fetchmail
Tcl\All
Editors\VIM
Astro\X-Earth
One thing I did not see what OpenOffice, which is my alternative Office Suite of choice. I will need to go back once installation is complete and install OpenOffice from ftp://ooopackages.good-day.net/pub/OpenOffice.org/FreeBSD/, but I will do this as a last step. Once I choose install, the installation begins.
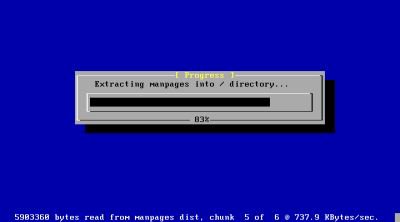
I am prompted to put in CD #2. It prompts me a few times to switch CDs, which is kind of annoying. In future releases it would be nice if the FreeBSD team would add support for a more efficient queuing of package order. That way I can walk away from the installation and not have it wait half way through for the CDs to be switched repeatable. One plus is that the installation will take care of all the dependencies for all the packages I chose. This process takes a long time.
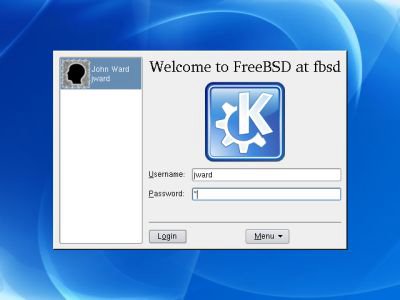
Once complete it takes me back to the extended menu. At this point I set my root password, create an additional user account for myself, DHCP, and set various other system options. I then exit the installation program and reboot. The same FreeBSD welcome screen I saw when I installed greets me once again. After going through the system information screens again, I finally end up at the FreeBSD login page.

I login and start X, however I am disappointed to find that KDE was not configured to work with X, so I will need to do some extra configuration. I need to replace the ttyv8 entry in /etc/ttys to start KDM. I login as root and change the ttyv8 line to look like so:
ttyv8 "/usr/local/bin/kdm -nodaemon" xterm on secure
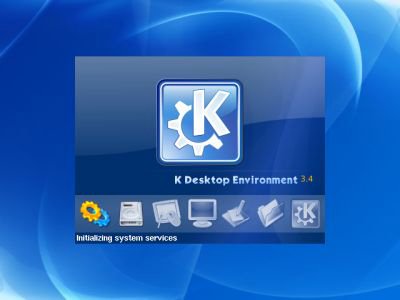
When I reboot the system, I will get the KDM login manager and be allowed to go through the KDE setup wizard. So I reboot.
I see the KDM login screen as expected. Once I log in to my account, I get prompted to go through the KDE setup wizard. After I go through the wizard, I am greeted with the familiar KDE desktop environment.
I open up a Super User console window, and use pkg_add to install bash (which I prefer as my default shell). Also, I am not too happy with the 640x480 display I have here. I will need to configure X.Org to use other resolutions other than 640x480. In order to do this, I will need to create and modify a new configuration file. So I run the following command:
xorgcfg –textmode
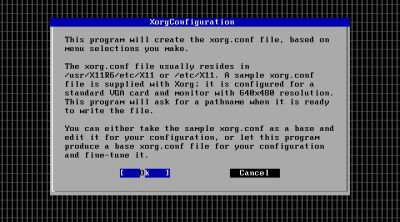
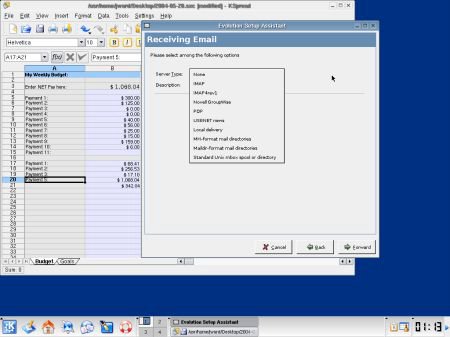
I follow through the steps and set up my video card as a vesa card at 1024x768 24-bit color. Once the configuration file is saved, I save it to /etc/X11/xorg.conf and reboot the system. Once restarted, I was good to go. Below is a screen shot of me with an example spreadsheet created in Koffice Spread and working to setup Evolution as my Email client.
My final task, however, is to install OpenOffice.org on to FreeBSD 6. I prefer OpenOffice to Koffice. By running the command in the screen shot below, you can see how I started the installation.

The setup gives me a few messages to read through. It complains about not being able to find OpenSSL packages, and a few other warning, but the installation does complete. I type in openoffice.org-2.0.0 to run the program.

Outside of some issues such as figuring out the configuration for the video card, which is mostly due to the fact that I am still not used to working with X.Org as opposed to Xfree86, the FreeBSD installation was very easy. There are a few peculiarities that I will need to work out, such as fully configuring the sound card, but for the most part I am pleased with how little time and effort it took me to get up and running. There are plenty of other post-install configuration tasks, such as setting up the ports collection on this machine, however Richard Bejtlich has a number of articles explaining how to set this up, in addition to the numerous articles that are out there. I will be working with this over the next few weeks to see how much I like FreeBSD 6 vs. Fedora Core 4. While they both have the pros and cons, I look forward to seeing which one I can be more productive in.


4 comments:
It helped me actually have a gui login.
Thanks
Great little tutorial.
Simple clear and concise.
Thanks
Thanks alot for this tutorial!!! It has helped me a few times and is very easy to understand. Now I can use KDE instead of a command line. :-)
Thanks for the article. Can you explain the partitioning for dual OS like preinstalled Windows with sufficient space left for BSD.
Thanks,
kiranjobz@gmail.com
Post a Comment